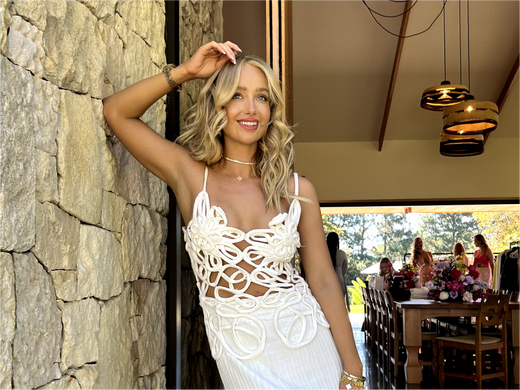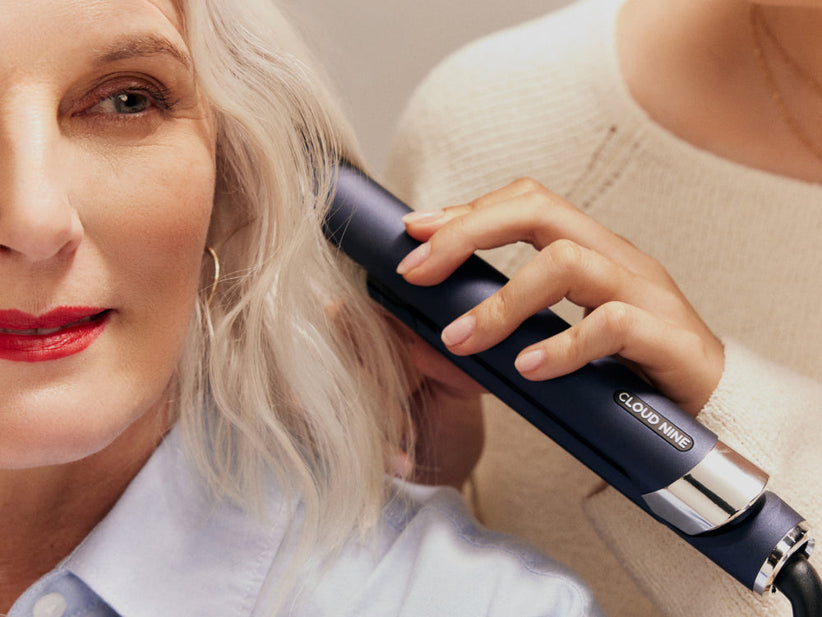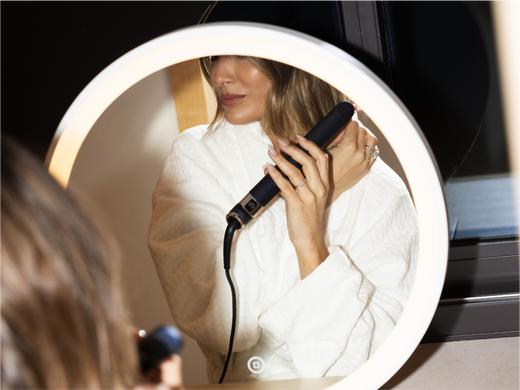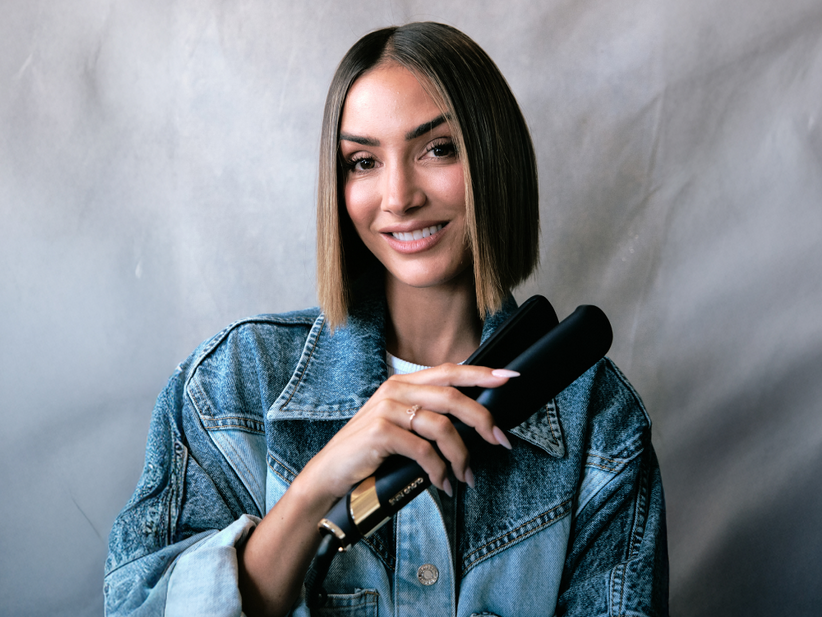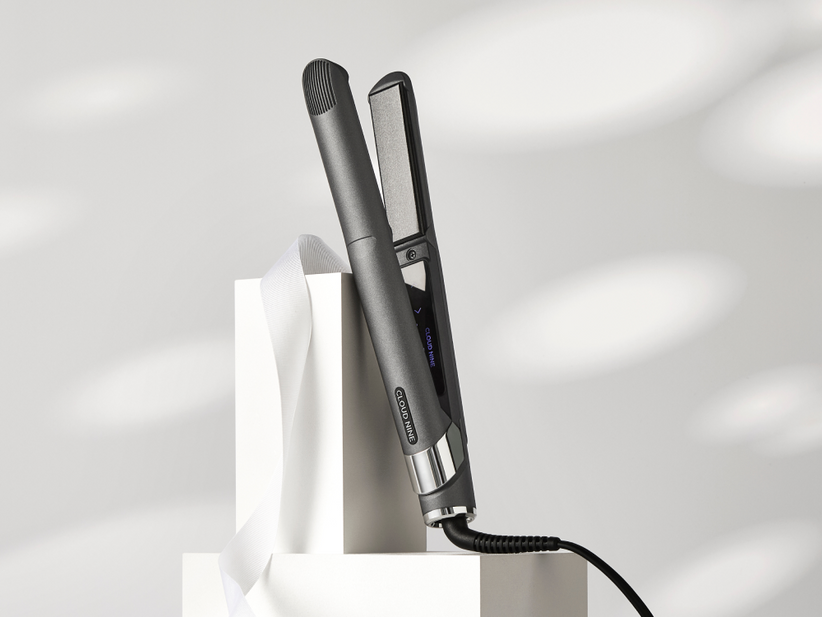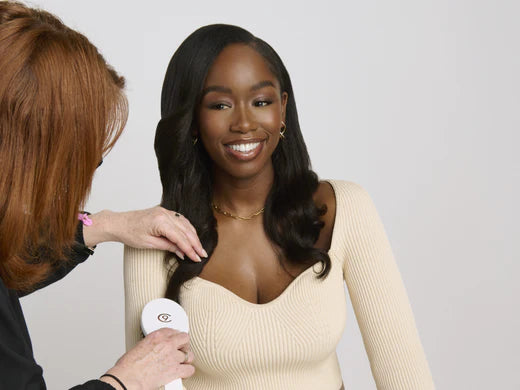
From lived-in waves to luxe ’90s blowouts, these nine stand-out styles show just how versatile the new Cloud Nine Contouring Wide Iron can be. Perfectly suited to longer, thicker hair types – just like the iron itself – each look is easy to recreate at home, and we’ll show you exactly how.
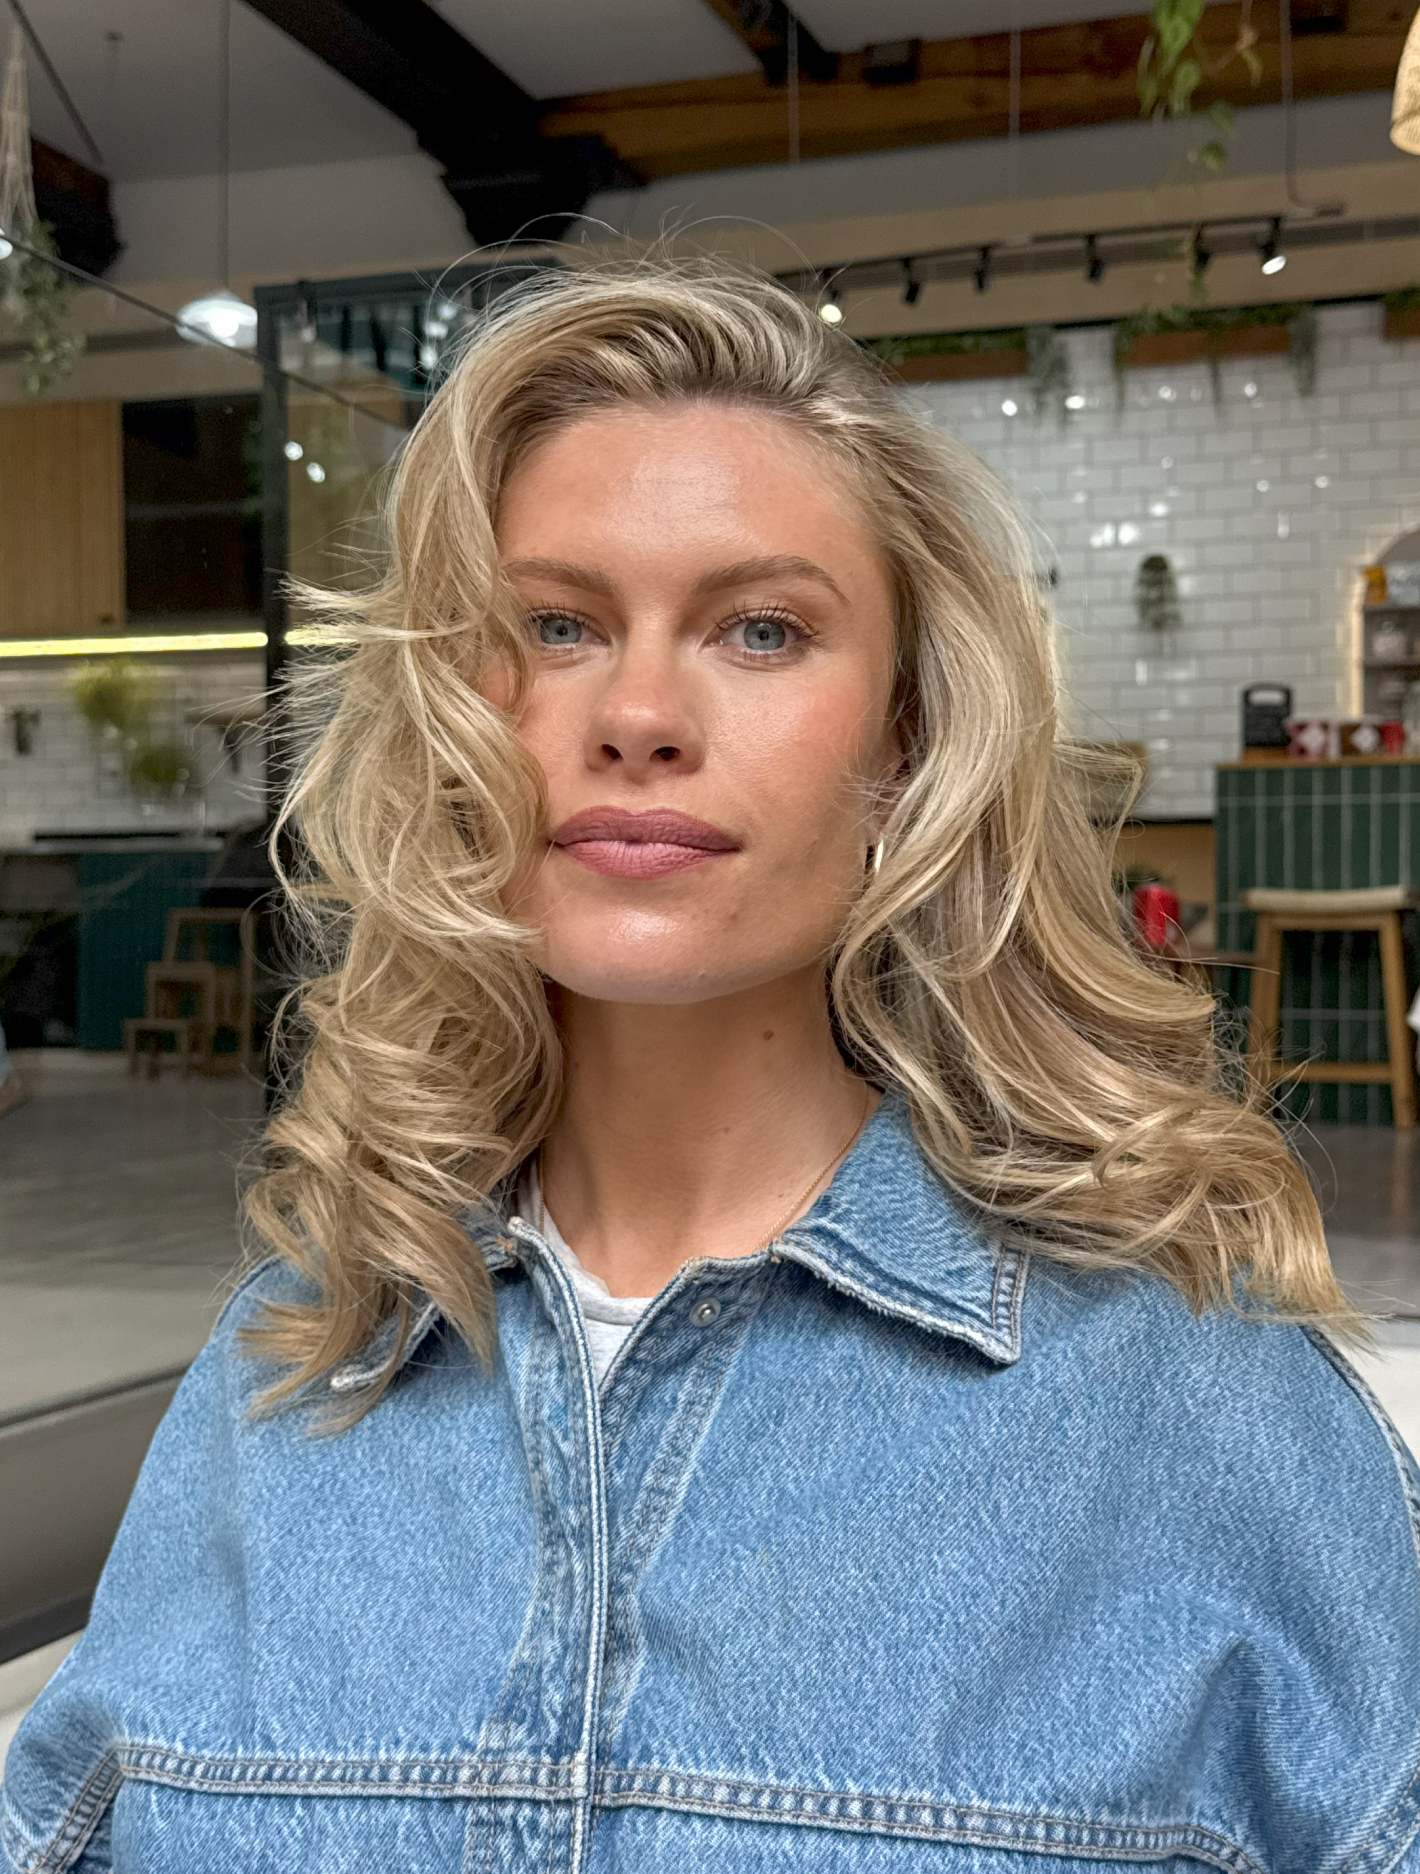
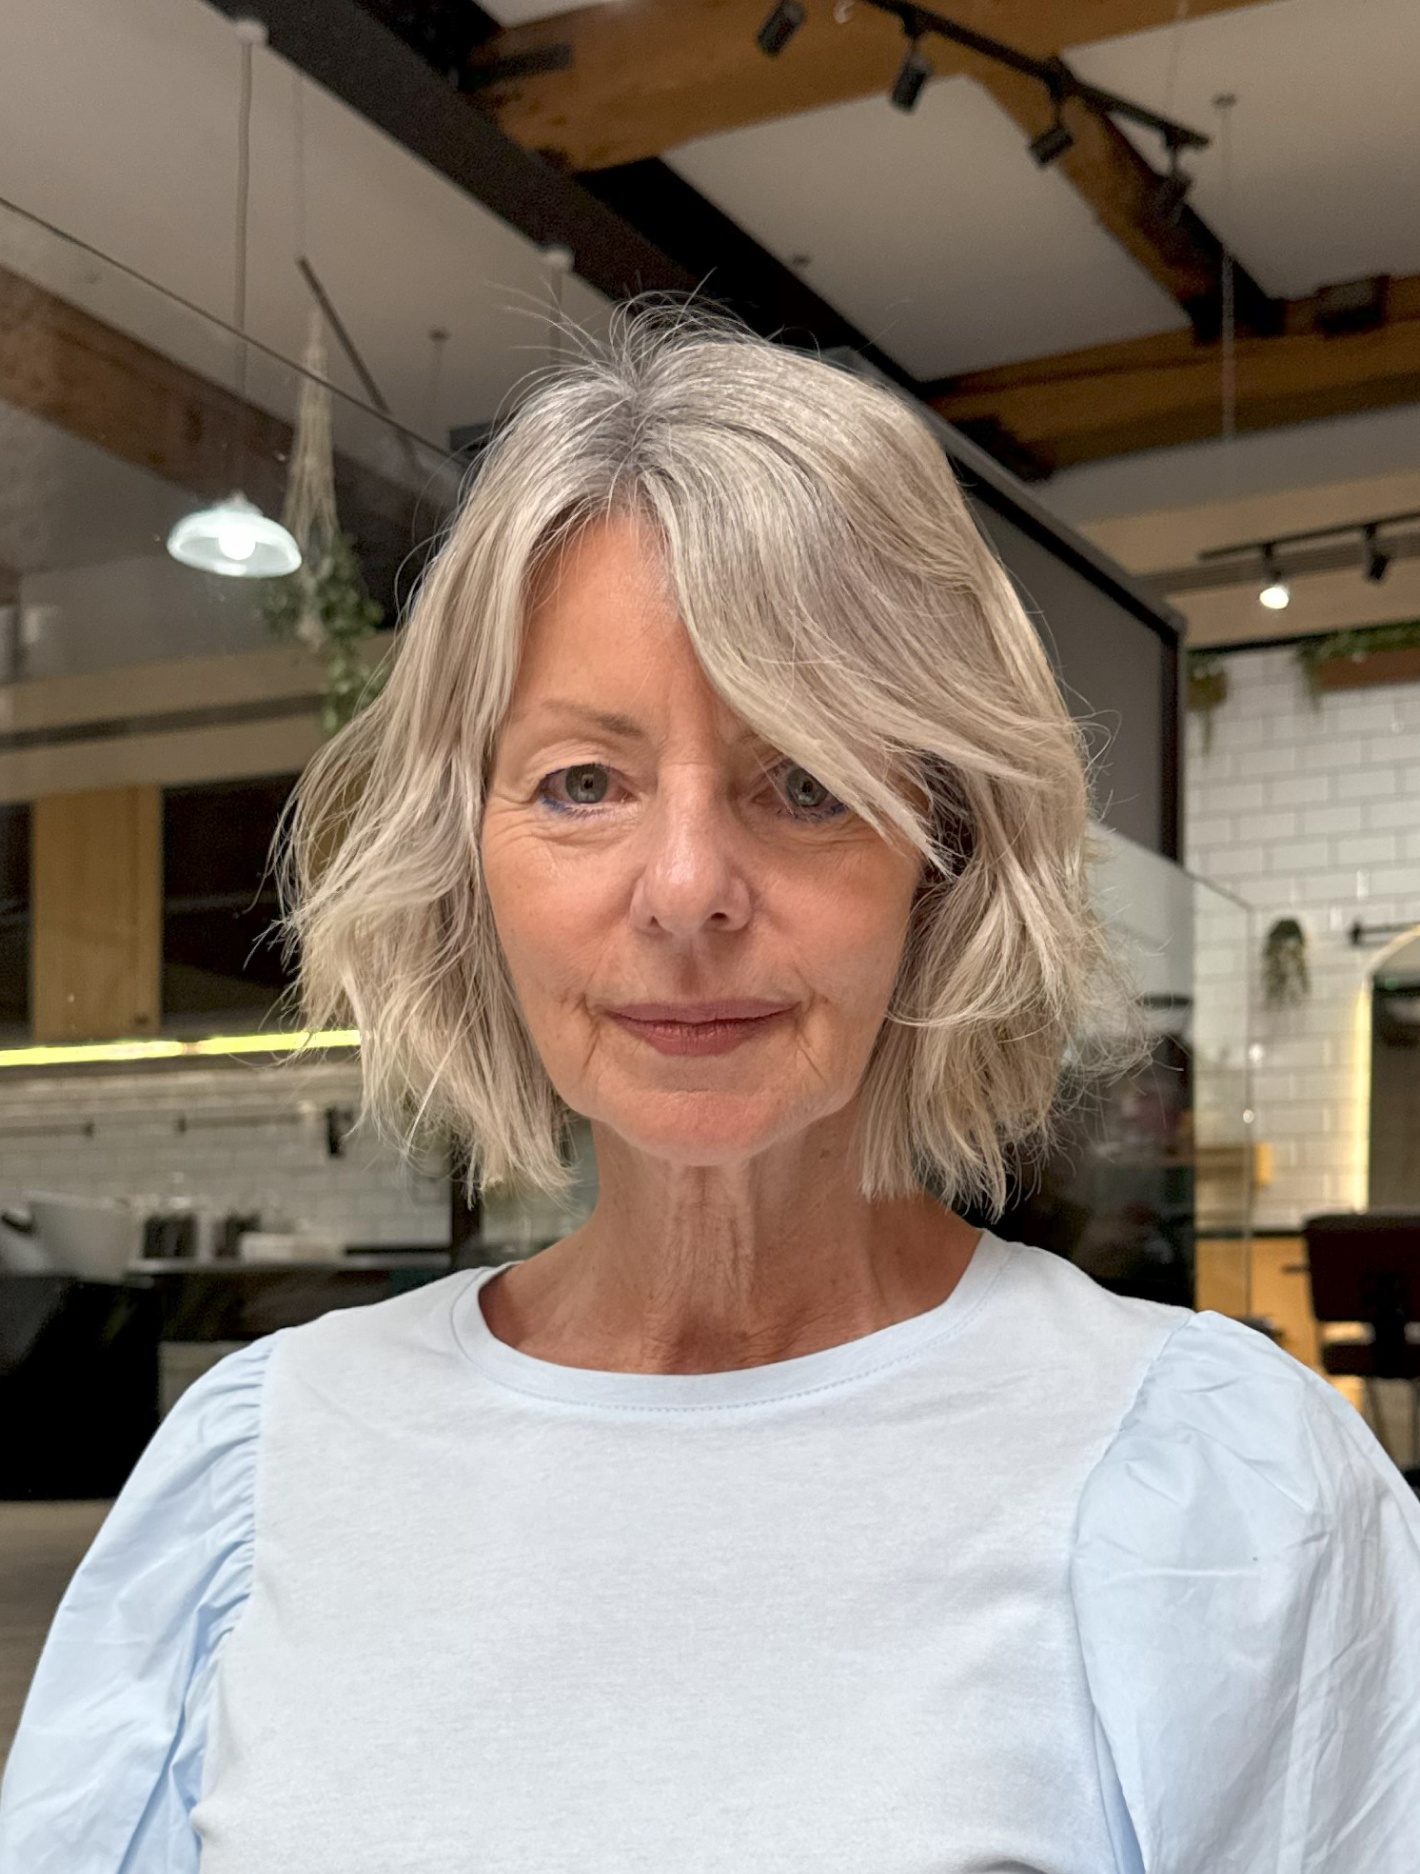
Look 1: Relaxed faux blow
A modern take on the classic salon blowout, this look is all about movement and bounce without the fuss.
Get the look:
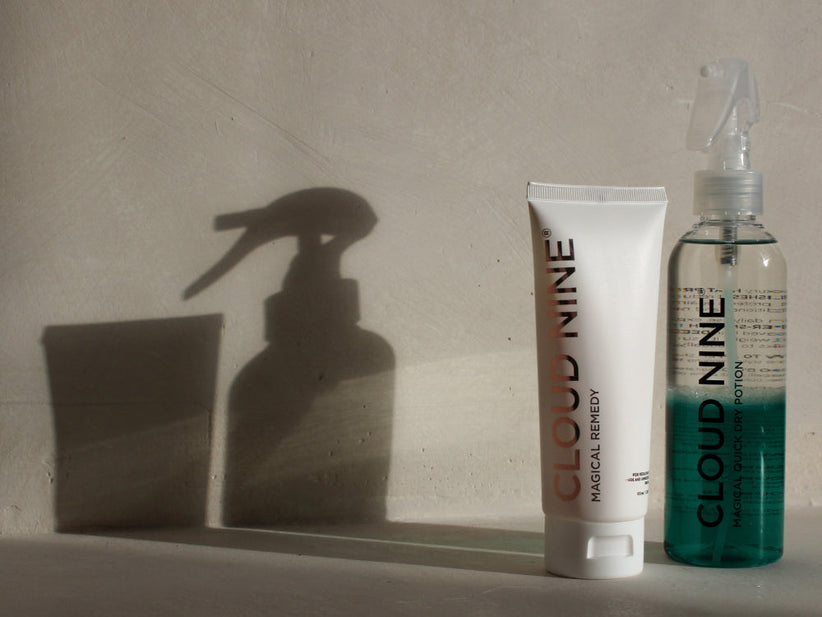
1. Spritz dry hair with Magical Quick Dry Potion and a volumising texture spray.
2. Blow-dry your hair straight using the Airshot, a section at a time, focusing the Precise-Drying Nozzle on the roots to add lift and fullness. A round brush is perfect for gently lifting each section as you dry.
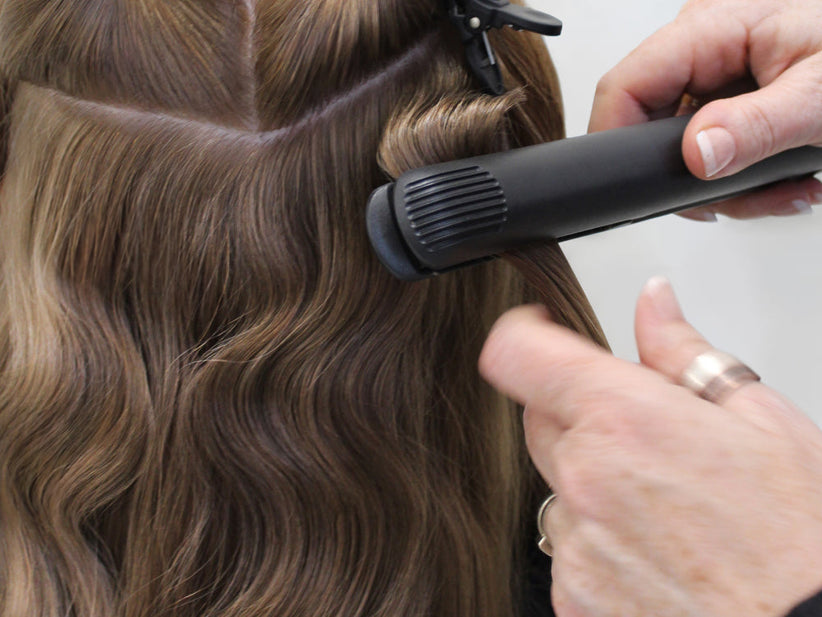
3. Once your roots are volumised, take a section of hair and gently glide your Contouring Wide Iron down the length. At the point you want your curl to start, pivot your straighteners 180 degrees (a half turn) away from your face, keeping the plates closed carefully around your hair as you glide the straightener all the way to the ends.
4. Pin each curl around a roller and repeat for the other sections.
5. Mist with a texture spray and hairspray, then allow your hair to cool for 10 minutes.
6. Gently unpin each curl for soft, faux-blow-dry voluminous waves.
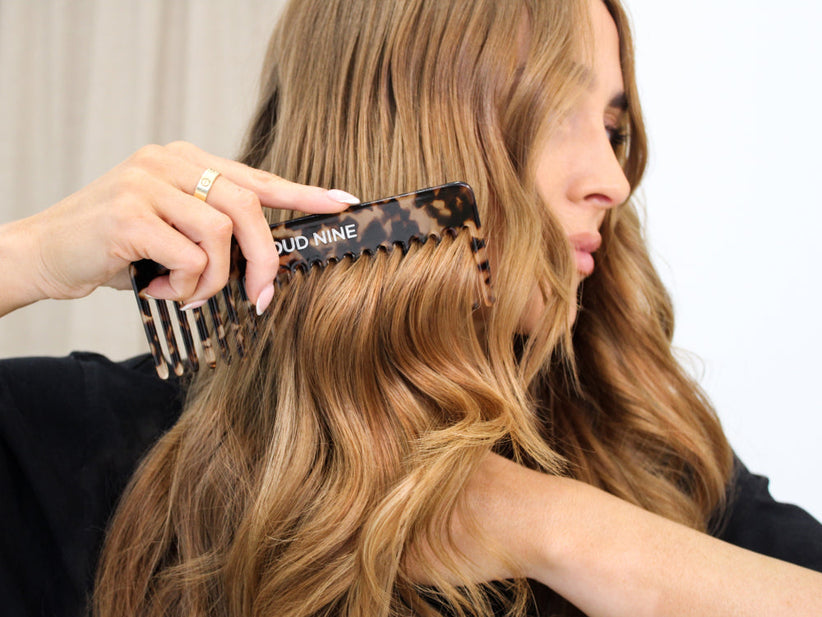
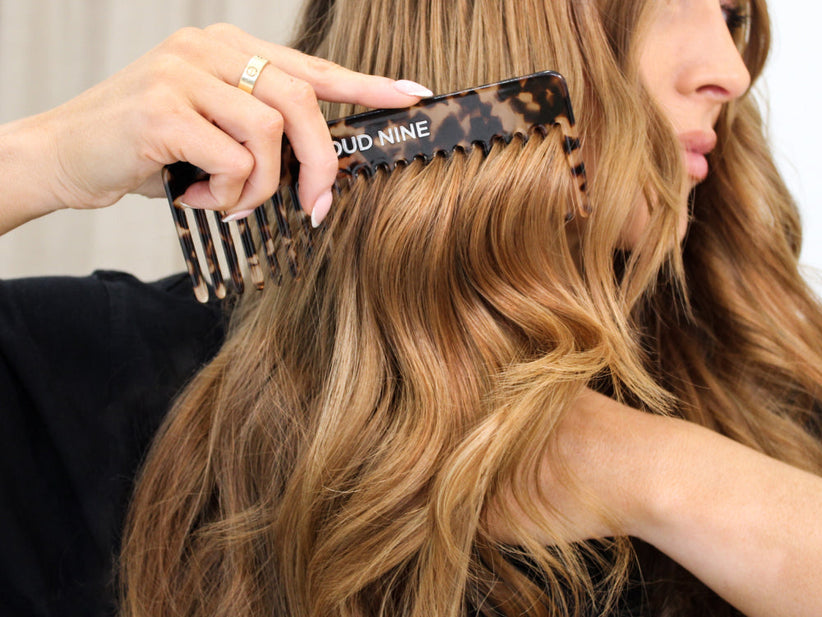
7. Use a wide-tooth comb or your fingers to gently tease out the curls, creating a looser style.
Pro tip: Finish with a mist of lightweight hairspray to keep your curls defined for longer.

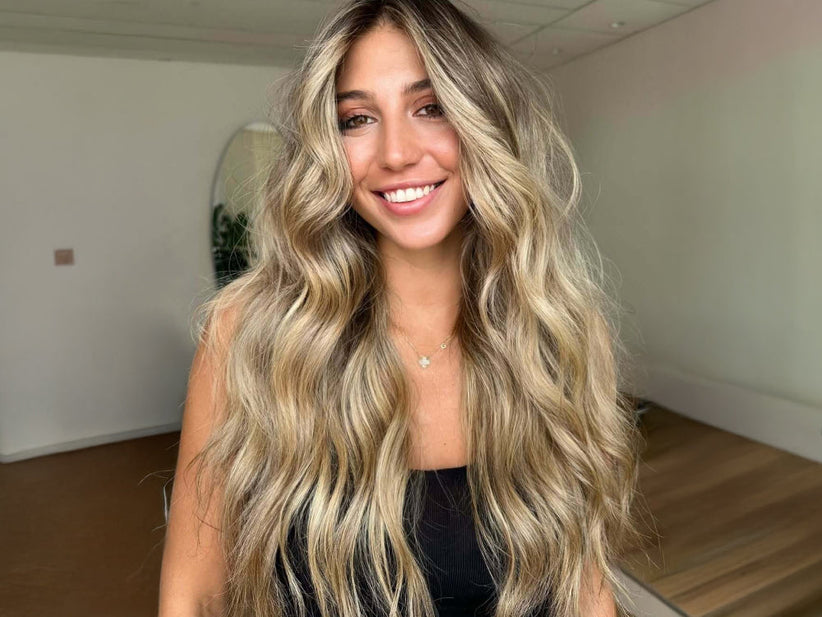
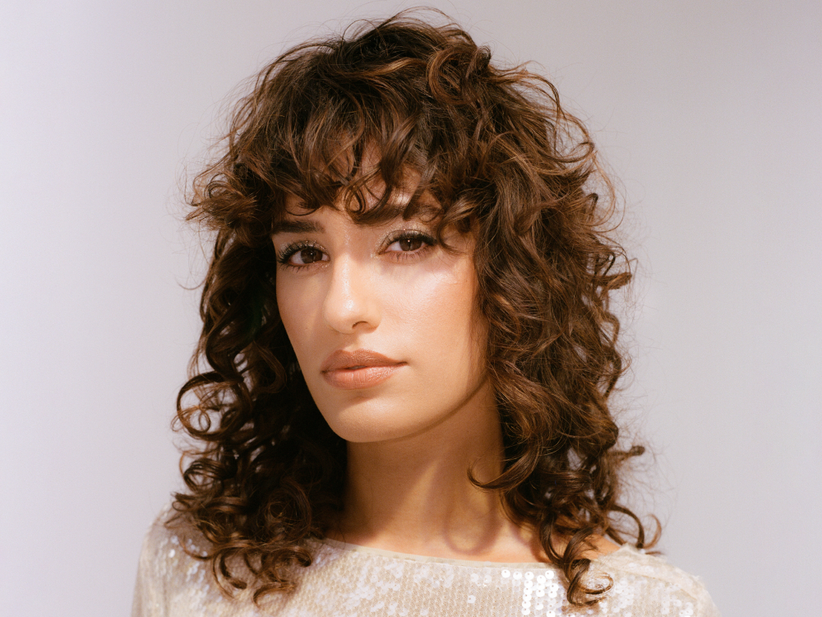
Look 2: Deep textured wave
Think sultry curves and deep-set waves that turn everyday texture into lived-in
luxury that feels as effortless as it looks.
Get the look:
1. Start with dry, straight hair and mist with Magical Quick Dry Potion.
2. Take a section of hair around one to two inches-wide. Gently guide the Contouring Wide Iron along its length, twisting your wrist slightly to create a wave outward. The motion should resemble a gentle ‘C’ shape. Keep this motion going right to the ends and repeat for all sections.
3. Finish with a mist of lightweight hairspray to keep your waves defined for longer.
Pro tip: Keep the curl direction consistent to ensure a sculpted, uniform finish or vary the direction of your curls for a more natural texture.
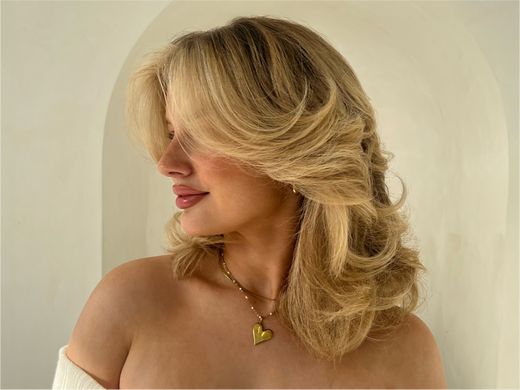
Look 3: The '90s revival blowout
Side-parted and full of volume, this nostalgic faux blow channels the best of the supermodel era – from the comfort of your own home.
Get the look:
- Start with dry, straight hair and create a deep side parting.
- Spray with a volumising texture spray and Magical Quick Dry Potion, then blow-dry again with the Airshot, lifting hair upwards to add volume at the root.
- Use the Contouring Wide Iron to curl each section by tilting the wrist 180 degrees (a half turn) throughout, then pin around rollers.
- Mist with a lightweight hairspray and wait 10 minutes for your curls to cool completely.
- Carefully release each curl for that signature bounce.
Pro tip: To achieve an authentic '90s feel, softly brush your curls out with the Luxury Dressing Brush and layer with texture spray.
Look 4: Barely-there ‘S’ wave
This understated style is perfect for adding subtle body, movement, and shape without appearing over-styled.
Get the look:
- Start with dry, straight hair and spray with Magical Quick Dry Potion.
- Take a section of hair around one to two inches-wide and, starting at the root, tilt your wrist away from the scalp, smoothing the hair between the Contouring Wide Iron’s plates outwards in a ‘C’ motion until about midway down the hair’s length.
- While the straightener is still moving, gently turn the straightener back towards your head in the opposite direction and smooth it towards the ends of your hair to create a long ‘S’ shaped wave.
- Set with a mist of hairspray. Apply a pea-sized amount of Magical Remedy through your hair for an extra sheen.
Pro tip: This look is all about restraint – avoid the temptation to tilt the straightener more than a couple of times to create long, subtle waves.
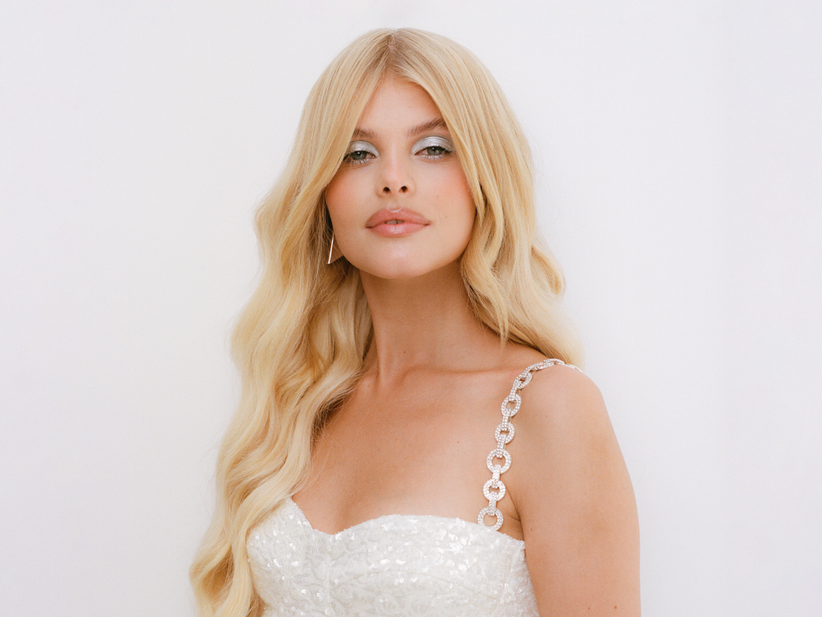
Look 5: Glam curls
A modern take on classic volume, glam curls add movement and definition and are perfect for work and play.
Get the look:
- Begin with dry hair and spritz with Magical Quick Dry Potion.
- Position the Contouring Wide Iron horizontally across a one to two inch-wide section of hair.
- Wrap the hair around the straightener, away from your face, keeping the curl flat (not twisted). Hold this angle for 8 to 12 seconds as you glide the straightener to the ends of your hair.
- Pin each curl around a roller and wait for the curls to cool.
- Release the curls and dress them out with the Luxury Dressing Brush or a wide-tooth comb for soft, voluminous waves.
Pro tip: Let the curls cool fully before brushing to achieve long-lasting, glamorous volume.
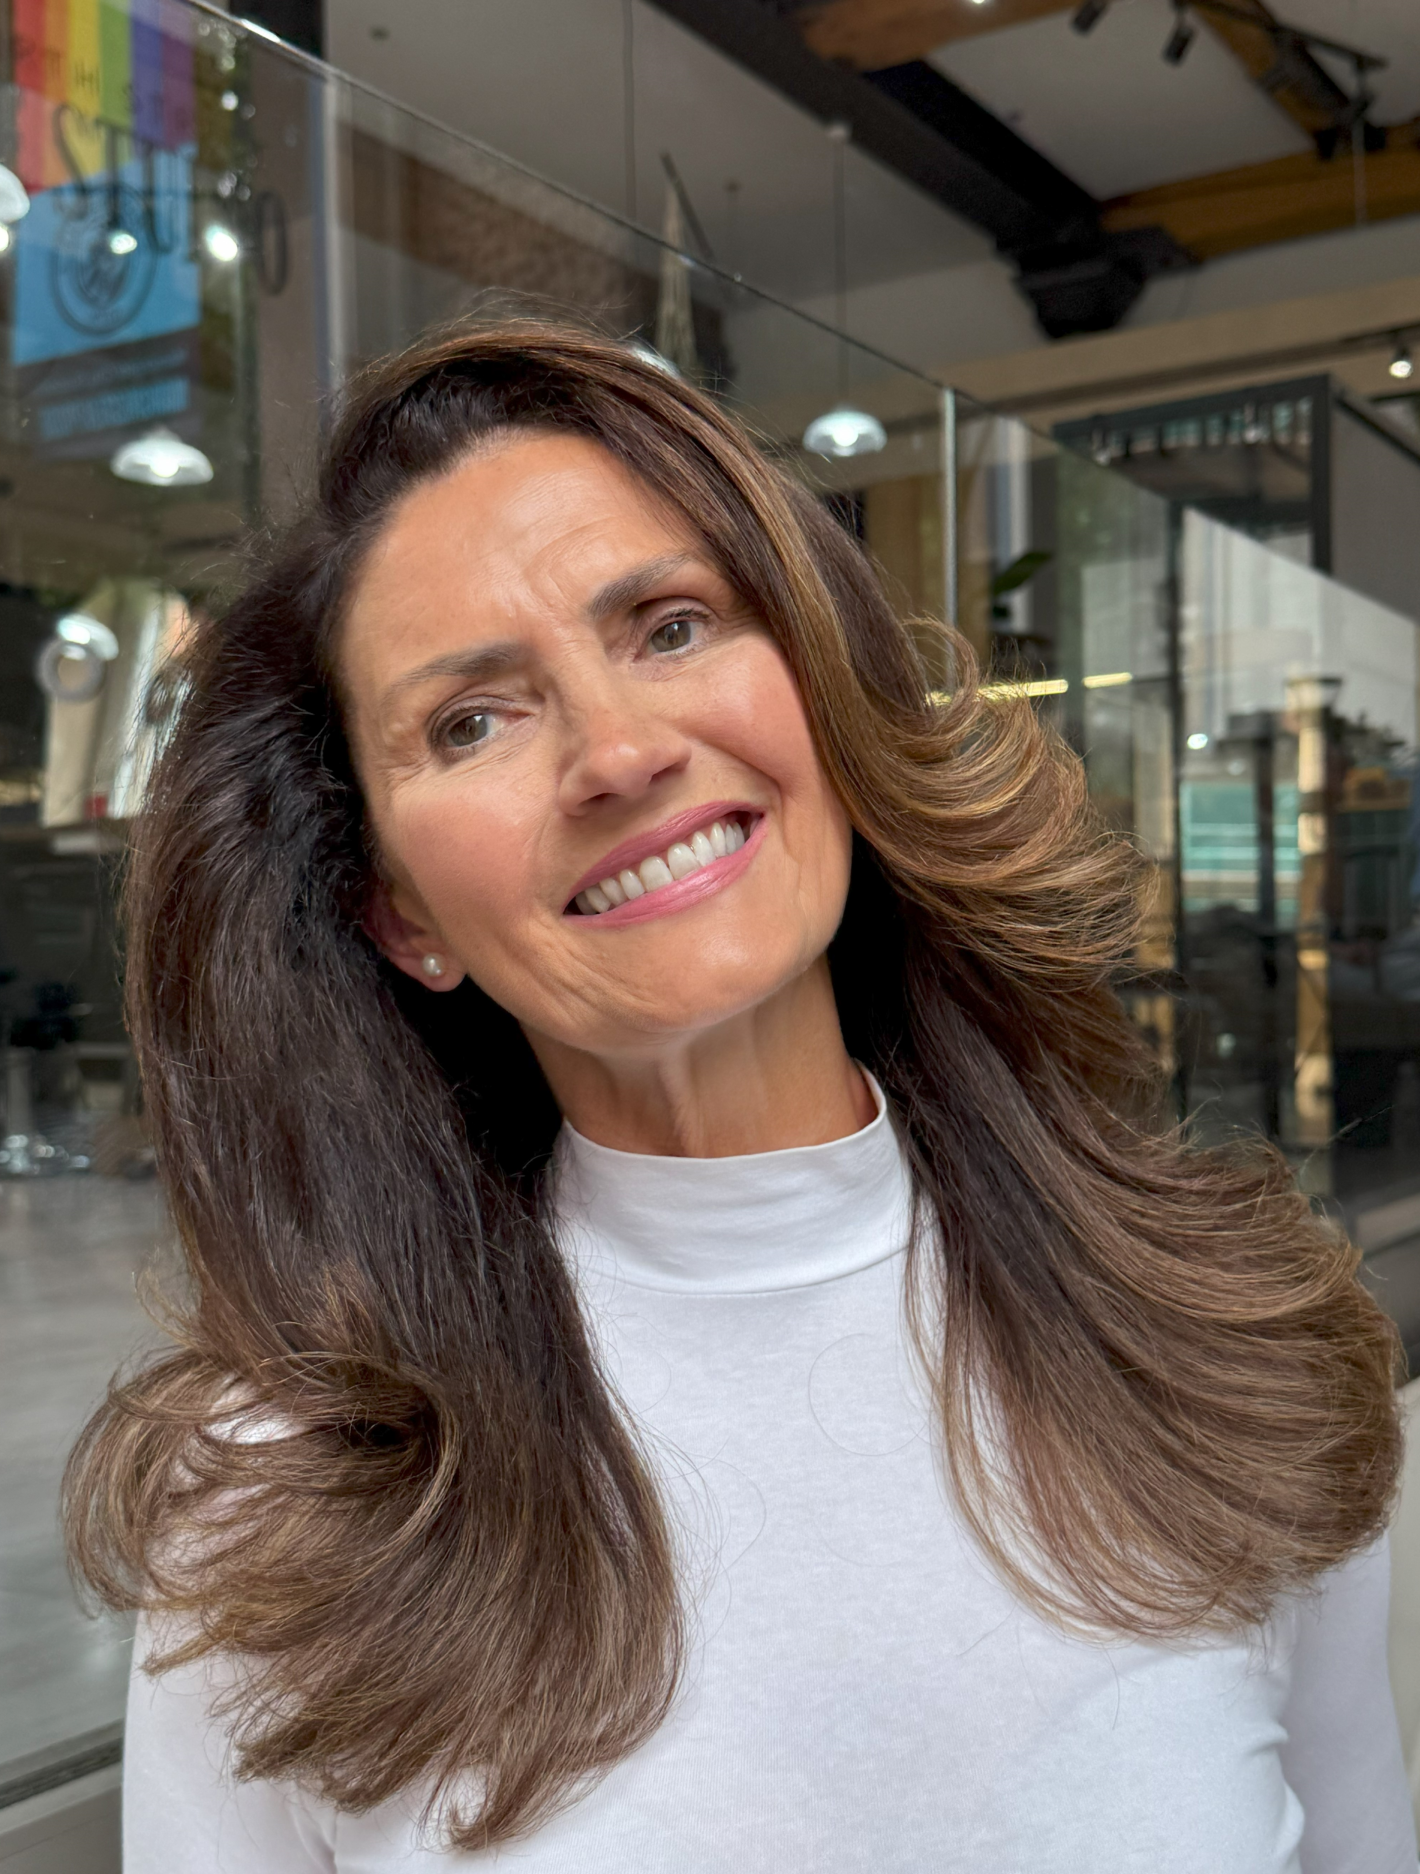
Look 6: Old money blowout
Classic and polished, this '80s-inspired blowout is all about full-bodied elegance.
Get the look:
1. Start with straight, dry hair and mist with Magical Quick Dry Potion.
2. Blow-dry in horizontal sections using the Airshot’s Precise-Drying Nozzle and a large round brush.
3. Dry the front section horizontally out from the face to create volume and that signature ‘old money’ silhouette.
4. Add extra curves at the mid-lengths and ends with the Contouring Wide Iron by twisting the tool outwards as you glide it through each section.
Pro tip: Finish with a touch of lightweight hairspray to hold the style and add a little shine.
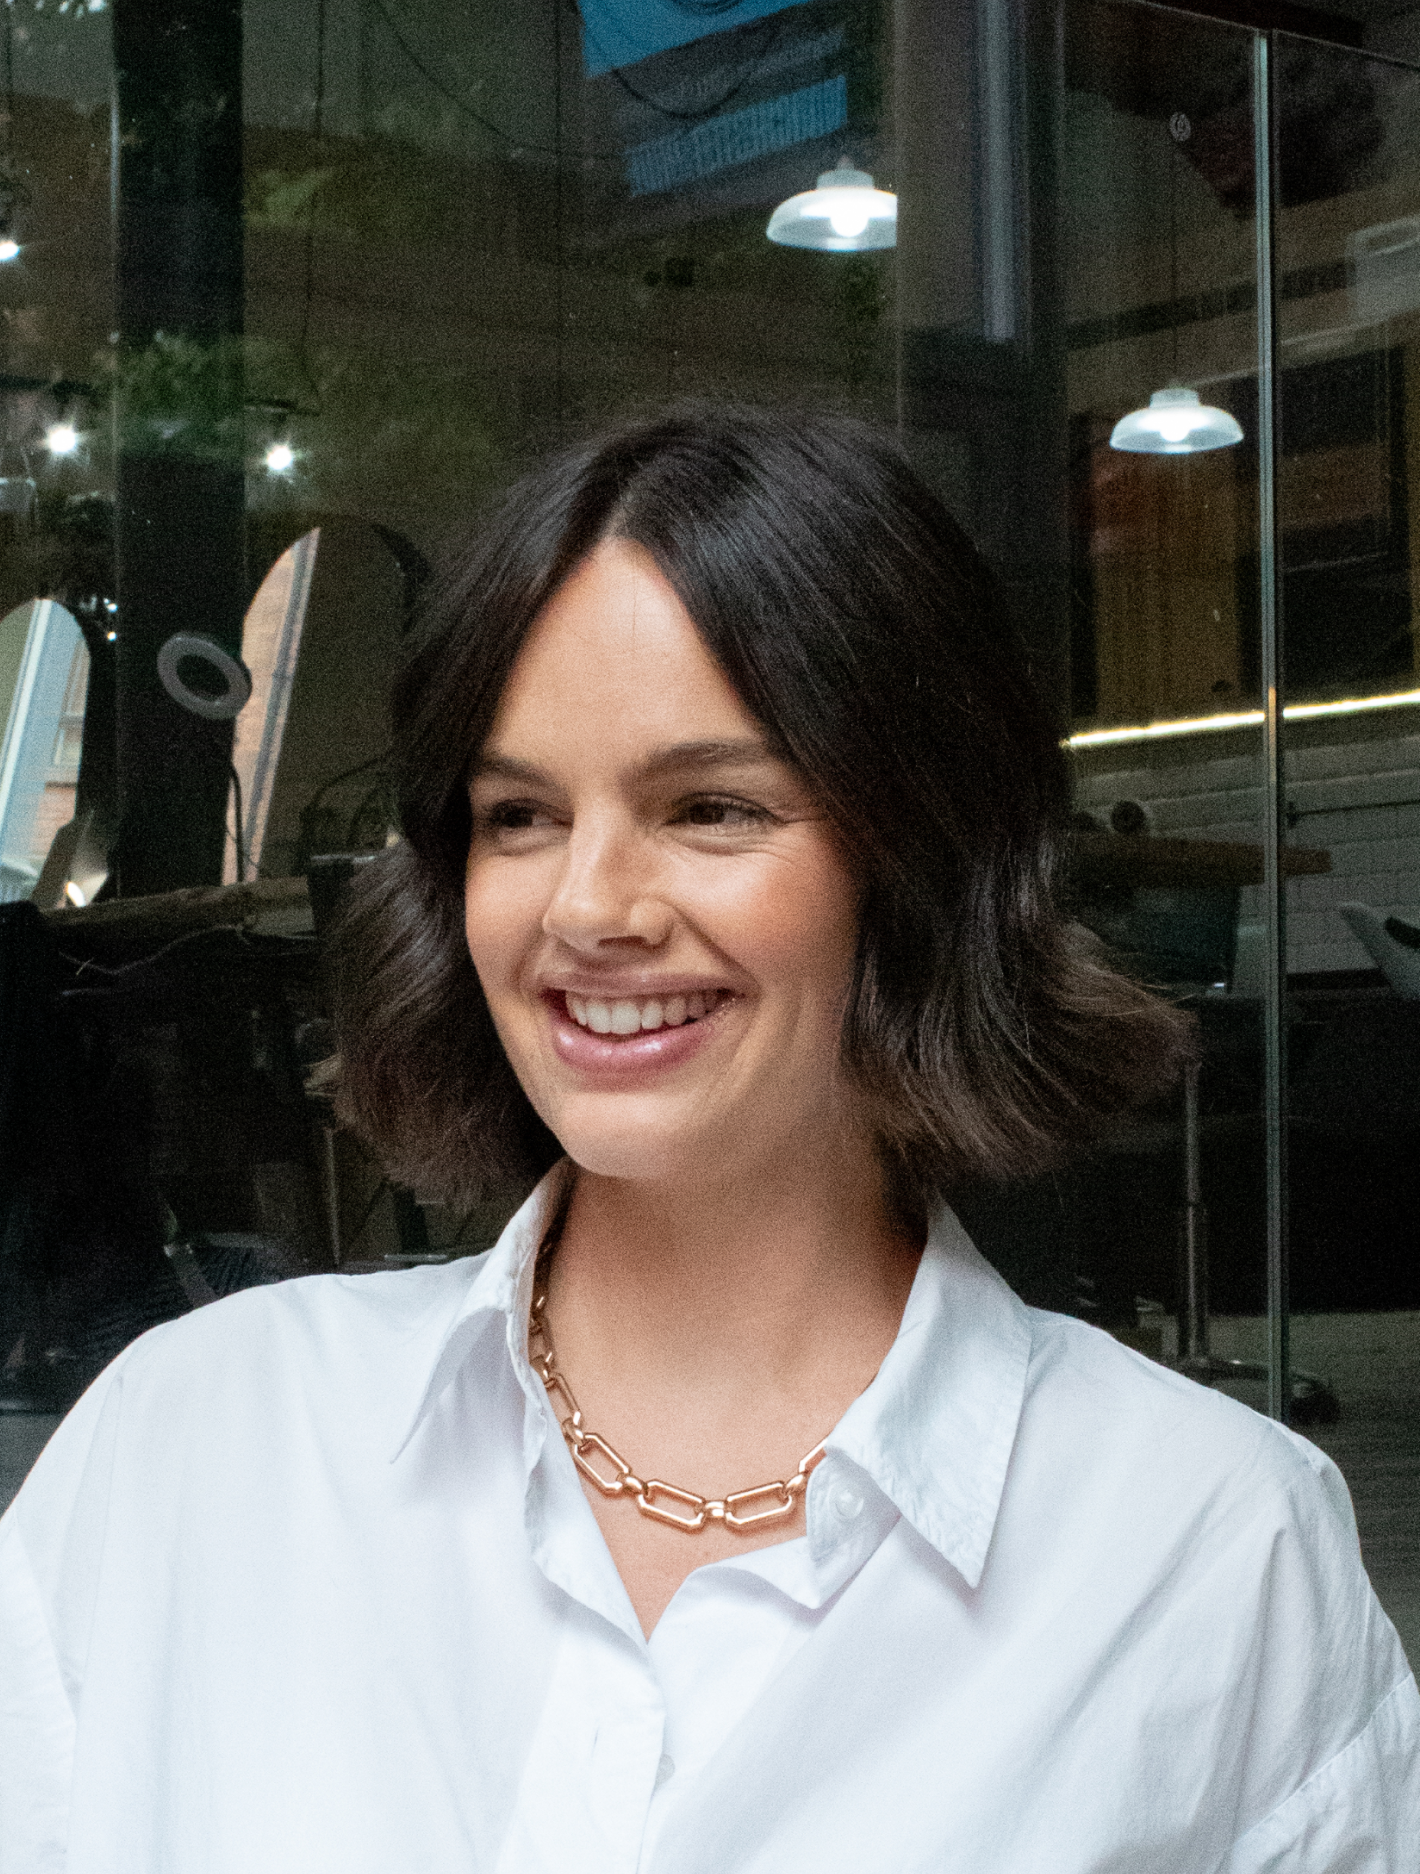
Look 7: Rock chick textured bob
Edgy, undone, and totally modern, this look is perfect for thick hair that needs control without losing the cool factor.
Get the look:
1. Spritz with Magical Quick Dry Potion to shield your hair from heat before styling.
2. Blow-dry hair sleek and straight using the Airshot and its widest Precise-Drying Nozzle.
3. Use the Contouring Wide Iron to sculpt flat ‘S’ waves for texture. To do this, take a section of hair around one to two inches-wide and, starting a few centimetres from your scalp, tilt your wrist away from the scalp, smoothing the hair between the Contouring Wide Iron’s plates outwards in a ‘C’ motion for a second or two.
4. While the straightener’s still moving, gently turn the straightener back towards your head in the opposite direction and smooth it over your hair to create a long ‘S’ shaped wave. Repeat until you reach the ends of your hair.
5. Apply a volumising texture spray and hairspray to hold the movement.
6. Add a sweeping side parting for a rock chic finish.
Pro tip: Be careful not to overuse texturising products as they can weigh your hair down and undo all the
hard work you put into your style.
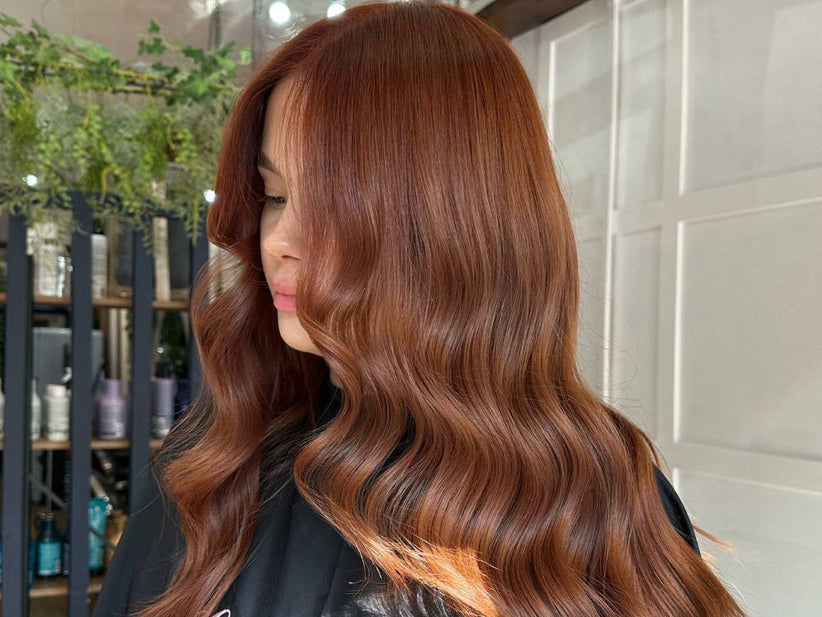
Look 8: Sleek ‘S’ wave
Create a polished, bouncy wave with just the right amount of drama.
Get the look:
1. Begin by spritzing dry, straight hair with Magical Quick Dry Potion.
2. Sculpt flat ‘S’ waves in horizontal sections, away from the face, using the Contouring Wide Iron. To do this, place a section of hair around one to two inches-wide between the plates and straighten to around eye-level, then tilt your wrist away from the scalp, smoothing the hair outwards in a ‘C’ motion for a second or two.
3. While the straightener is still moving, gently turn the straightener back towards your head in the opposite direction and smooth it over your hair to create a long ‘S’ shaped wave. Repeat until you reach the ends of your hair.
4. Let each section cool fully before touching.
5. Use a pea-sized amount of Magical Remedy to add shine and a little lightweight hairspray to finish.
Pro tip: It’s about precision and patience – cooling is key to this sleek texture.
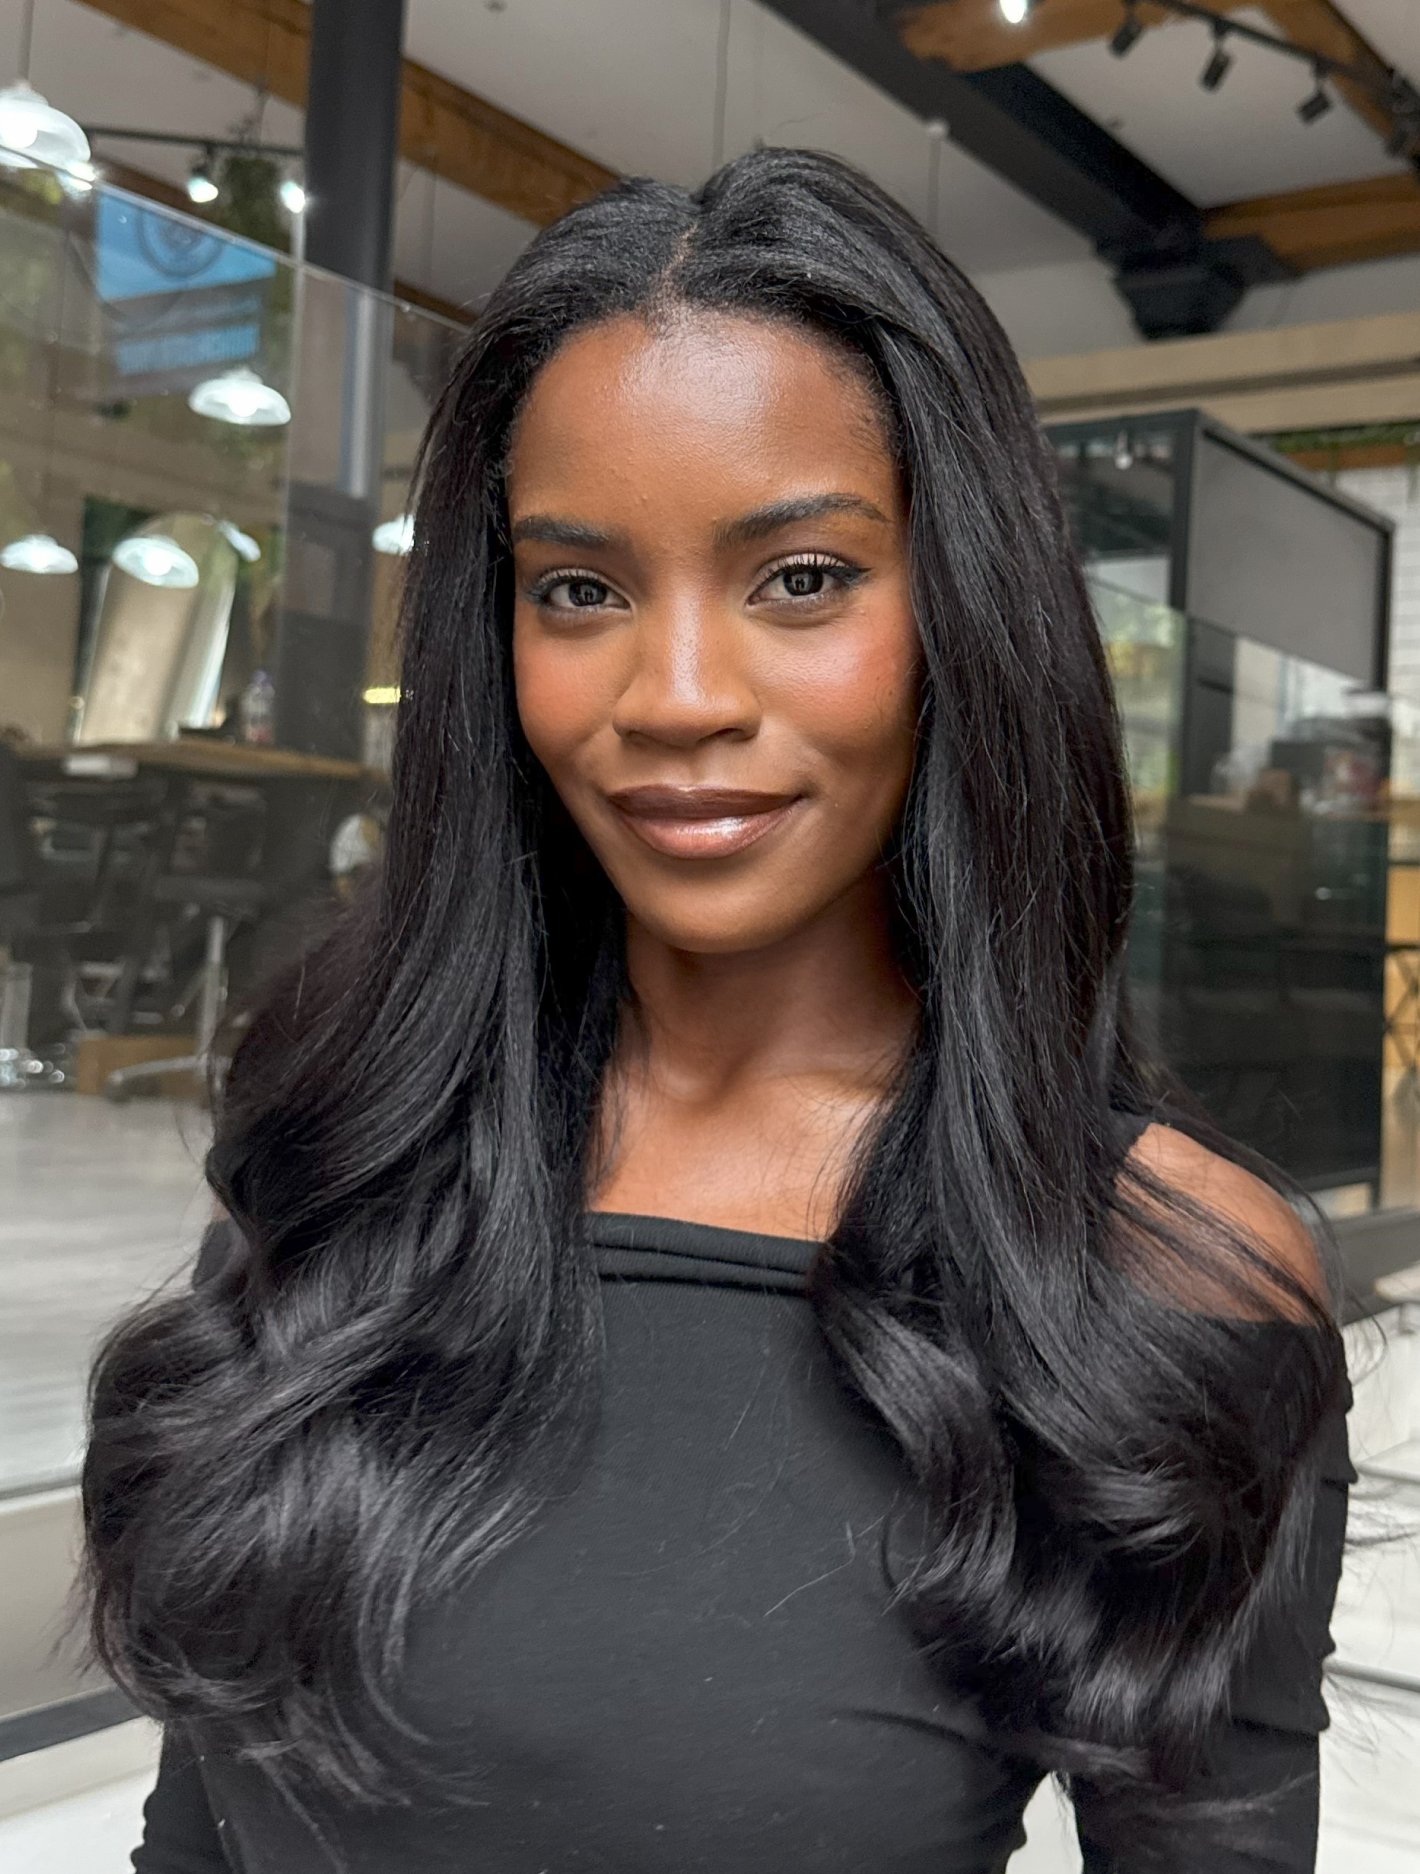
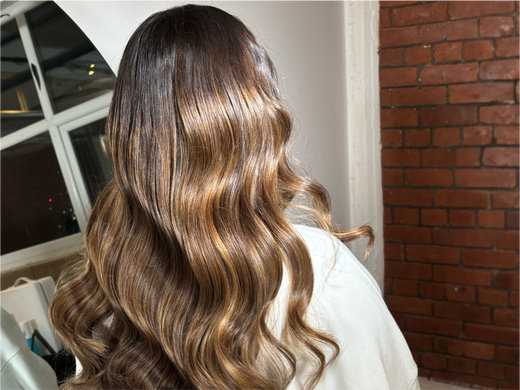
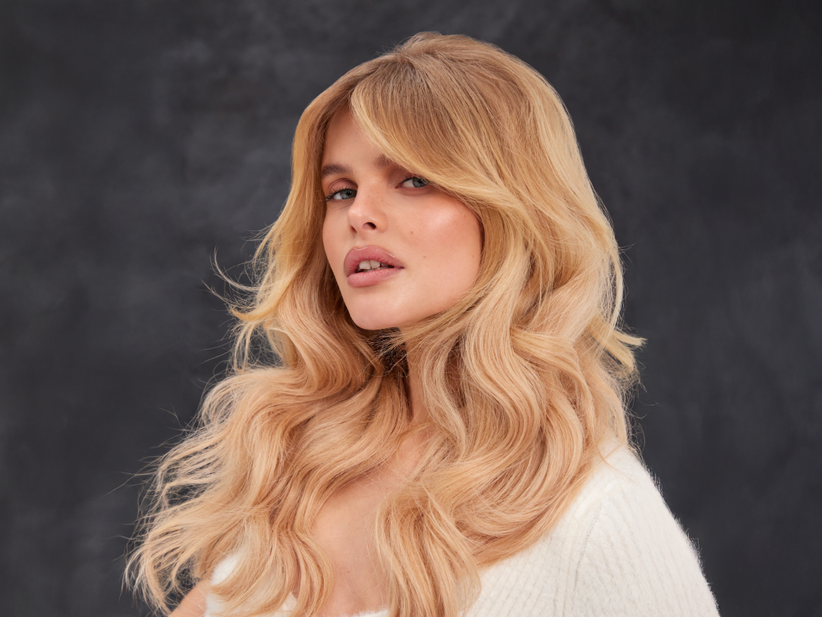
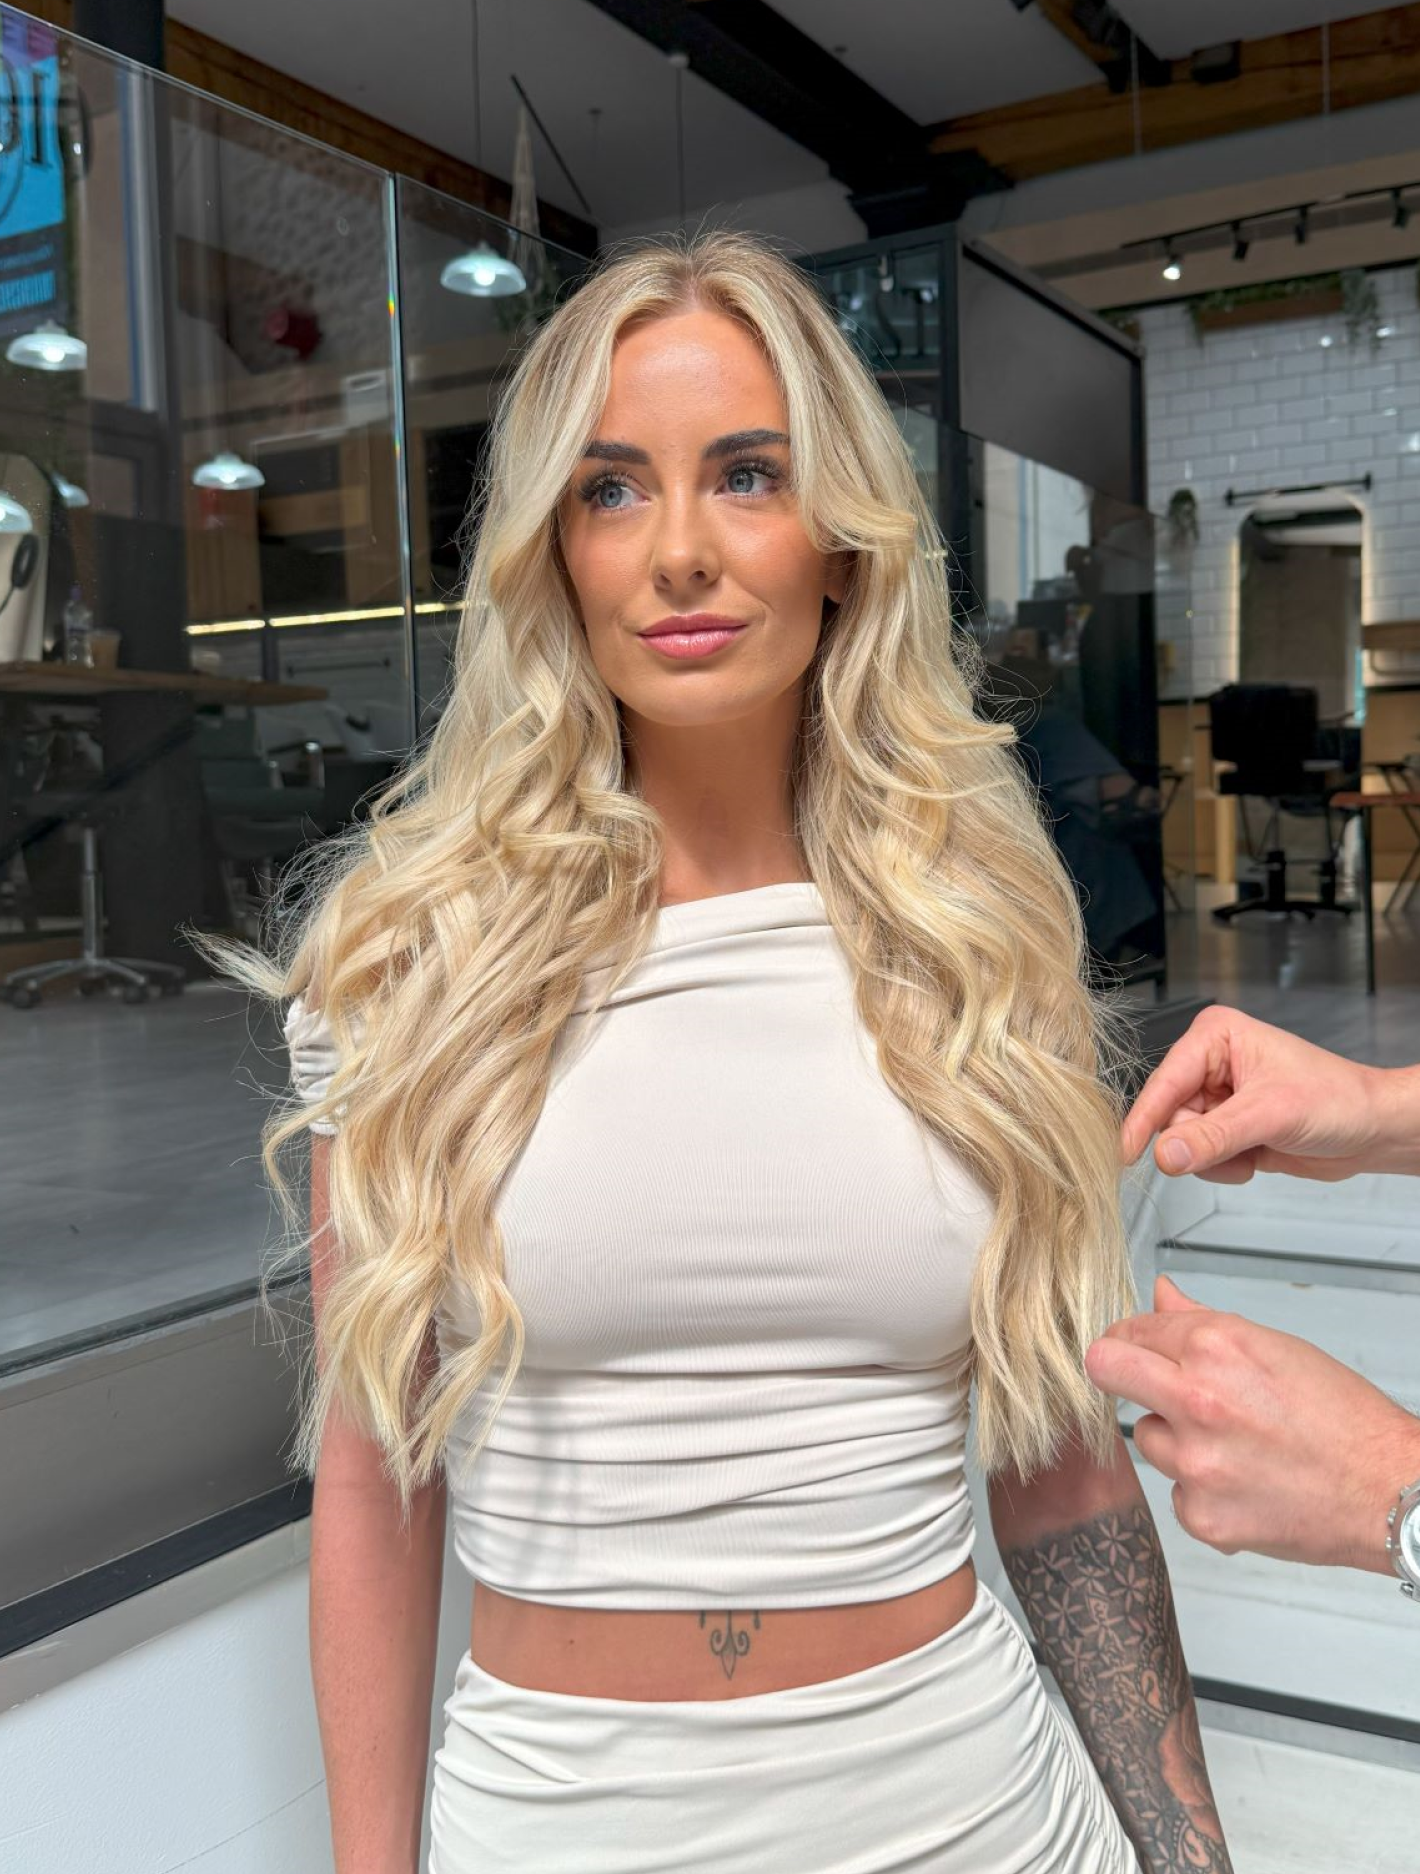
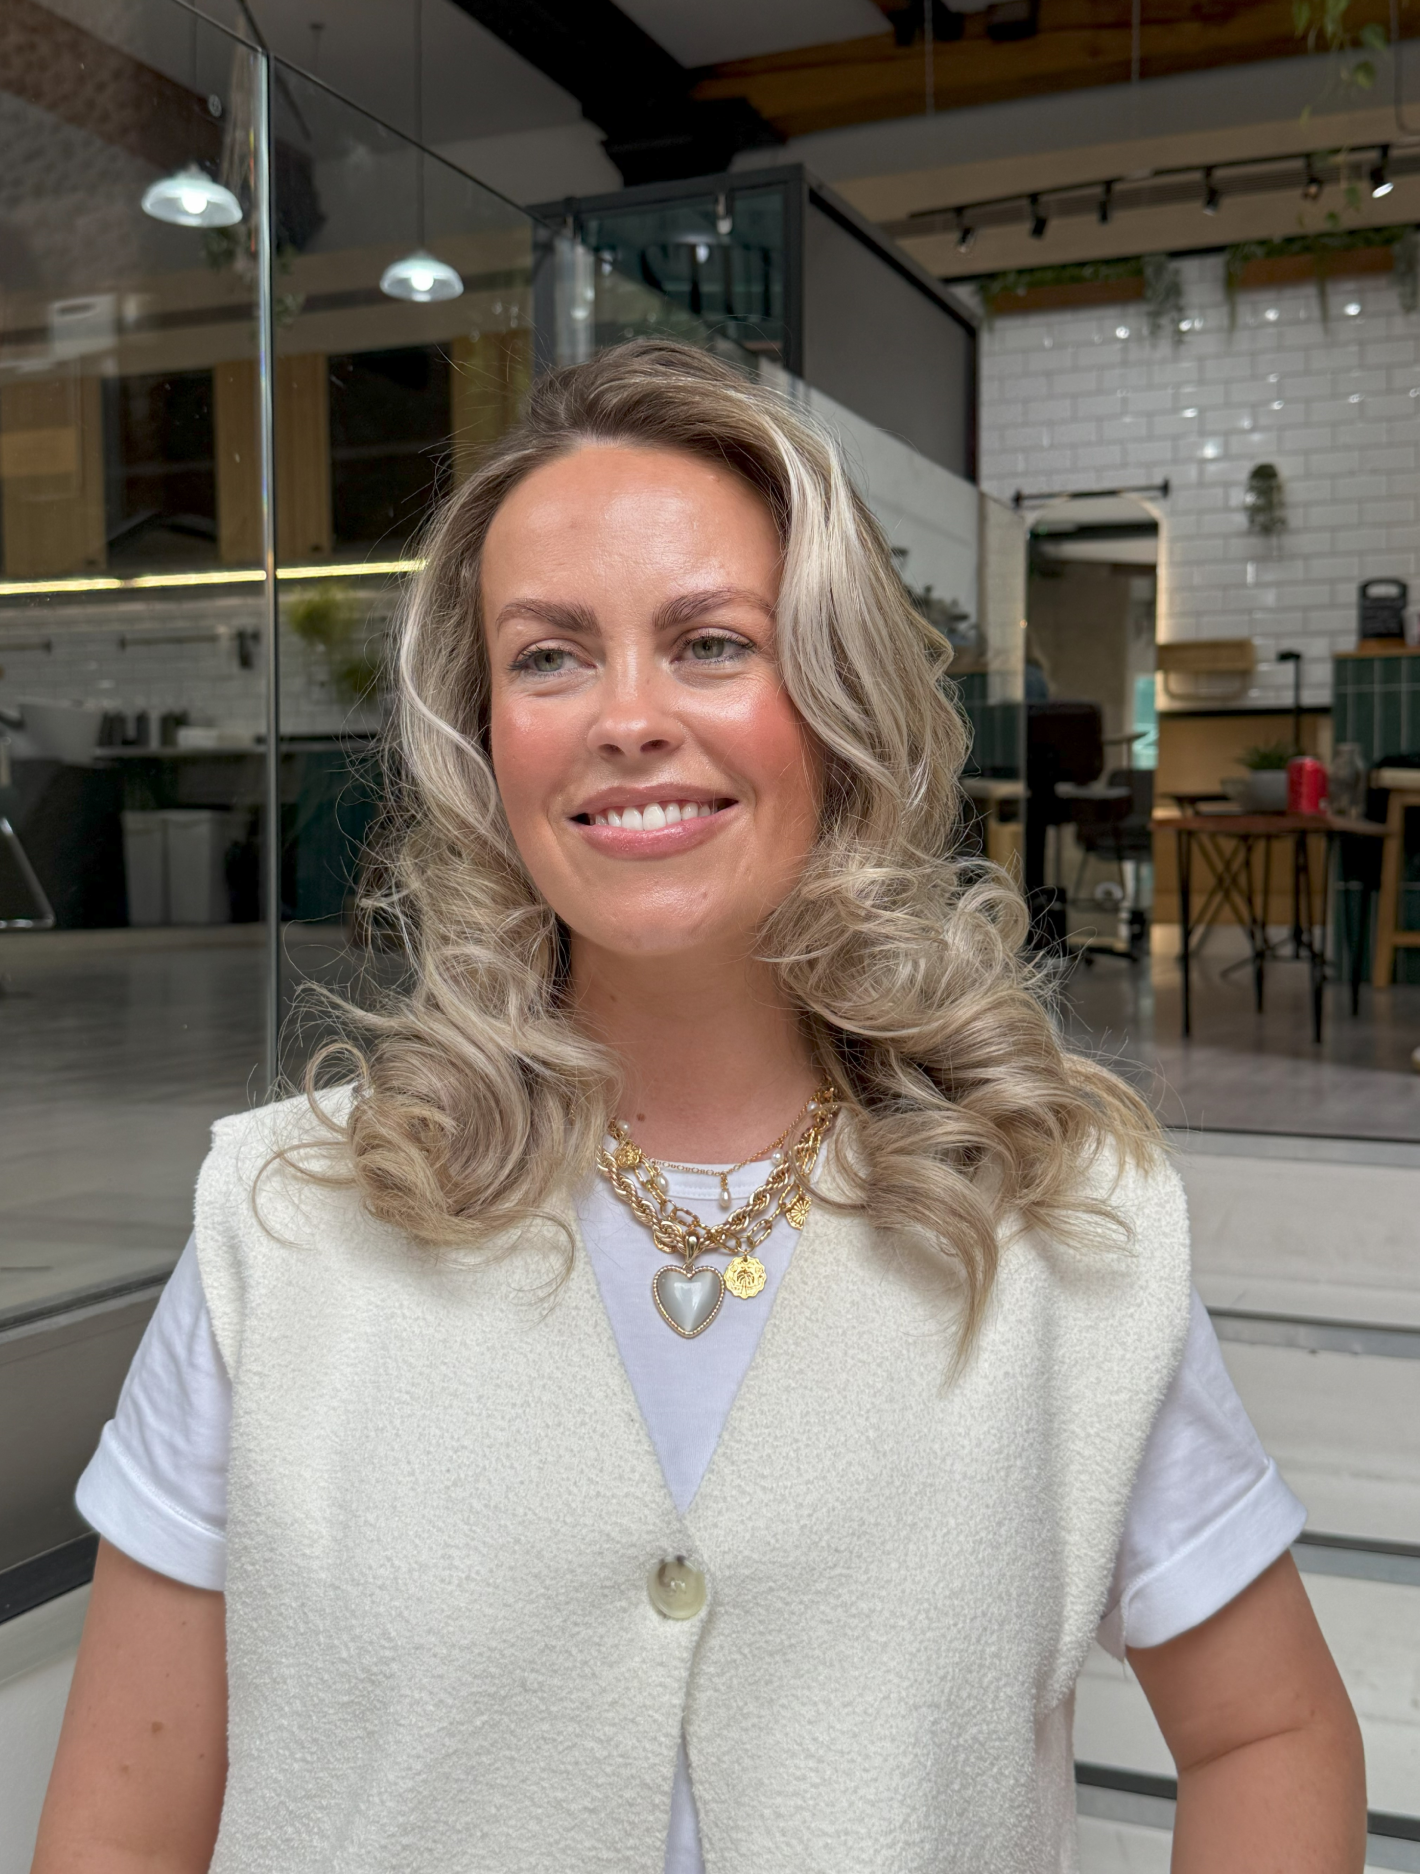
Look 9: Lived-in glamour waves
These glossy waves give that ‘day-after-the-party’ vibe – effortlessly luxe.
Get the look:
1. Start with dry, straight hair and spray with Magical Quick Dry Potion and some volumising texture spray.
2. Take a large oblong section (around two inches-wide) and style by turning the Contouring Wide Iron away from the face as you glide the plates through your hair. Repeat for all sections.
3. Apply lightweight hair spray to set the waves in place.
4. Let waves cool completely before combing through with a wide tooth comb to finish.
Pro tip: If styling a fringe, shape it away from the face to rest at the cheekbone for a soft and chic style.